Table Of Content
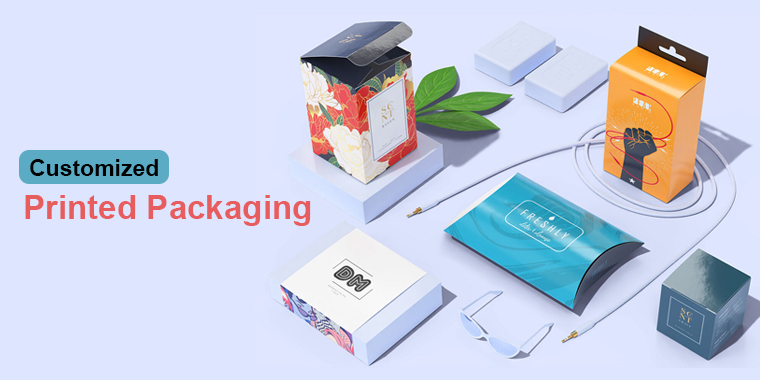
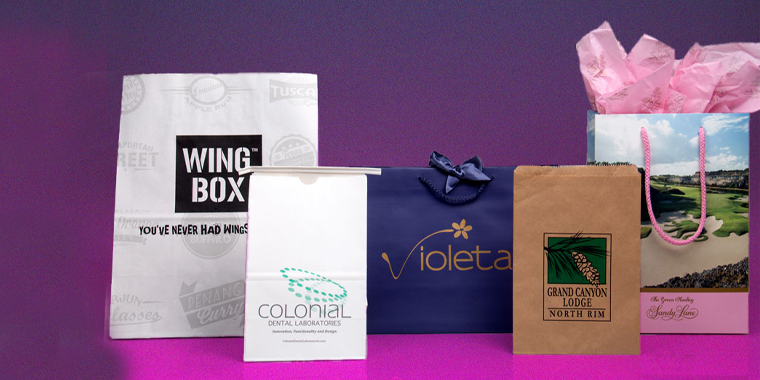
A boxed bag is a bag that has a flat bottom. It has a strong and durable shape that helps it stand up on its own. They are perfect for storing and organizing various items. You can store and organize cosmetics, snacks, and more. They can be made from fiber or kraft paper. Boxed bags can be made in different sizes and shapes. Their creation depends on your needs and preferences. Moreover, you can design with visuals and printing to give them a personalized touch. Let us show you how to make your boxed bag from scratch. Along with it, introduce you to a ready-made template that makes the boxed bag-making process easier and faster.
How To Make a Boxed Bag?
To make a boxed bag from scratch, you will need materials and tools. You can choose paper and fiber to make your boxed bags. The following materials are needed to make a boxed bag. List them up.
- Fabric or paper of your choice. You can use the same fabric or paper for the outside and inside of the bag, or different fabrics for contrast)
- Zipper (the length of the zipper should match the width of the bag you want to make)
- Fusible interfacing (this will add some stiffness and structure to the fabric)
- Thread, scissors, pins, iron, sewing machine, and zipper foot
- Ruler, pencil, and rotary cutter (optional, but helpful for cutting straight lines and corners)
The Steps for Making a Boxed Bag from Scratch Are as Follows
- Measure the size, and cut two pieces of paper and two pieces of interfacing. For a small boxed bag with a 9-inch zipper, cut your fabric and interfacing to 10 x 14 inches. The zipper always comes one inch smaller than the paper cut because of sewing and glue. Therefore, for a 12-inch zipper, cut the fabric to 13 x 18 inches.
- Press the interfacing to the wrong side of the fabric or paper pieces, following the manufacturer's instructions. It makes boxed bags more stable and durable.
- Place one paper piece right side. Then, place the zipper along the top edge of the fabric. Place it on the right side up with the zipper pulled to the right. After that, place the other fabric piece on top of the zipper. Same right side up, aligning the top edges. Finally, pin or clip the layers together along the top edge.
- Using a zipper foot, sew along the top edge with a 1/4-inch space. It catches the zipper in the seam. You may need to move the zipper pull out of the way as you sew.
- Open up the fabric pieces and press the seam away from the zipper. Topstitch along the seam. Then, close to the zipper teeth to secure the layers and prevent the fabric from getting caught in the zipper.
- Repeat steps for the other side of the zipper. After that, you will have a tube of paper with a zipper in the middle.
- Open the zipper halfway and turn the fabric tube right side out. Press the seams and the zipper flat.
- To create the boxed corners, turn the bag on its side and flatten one corner. Make sure to match the side and bottom seam. Then, measure and mark a line perpendicular to the seam, about 1 to 1.5 inches from the corner. After that, sew along or use adhesive on the marked line and trim off the excess fabric. Leave a 1/4-inch seam allowance. Repeat with the other three corners.
- Turn the bag right side out and push out the corners. You have just made a boxed bag from scratch!
Using a Ready-Made Template for Boxed Bag
If you want to make a boxed bag more easily and quickly, you can use a ready-made template for a boxed bag. It helps you cut the corners and darts of your bag with precision and accuracy. The boxed bag template is designed to make bag-making easier for everyone.
The Boxed Bag Template Has the Following Features and Benefits
- It can cut 90-degree boxed corners and 45-degree darts with ease. Use special teardrop-shaped stops that work with your standard 45mm rotary cutter. You don't have to worry about cutting too far or too little. Because the template protects your fabric and guides your cutter.
- The boxed bag template has a curved corner. It helps you cut smooth curves on your bag, placemats, bowl cozies, and more. You can use the curved corner to create different shapes and styles of Custom Bags, such as round, oval, or half-moon.
- Templates help you cut zipper tabs and zipper pulls. With it, they help measure and mark your fabric. The ruler has markings in inches and centimeters, as well as a 45-degree angle line.
- It comes with full-color instructions that show you how to use the different parts of the template, as well as a pattern for a simple boxed-bottom zippered pouch. You can also use the template with your existing patterns that require cutting boxed corners or darts.
- The boxed bad template is made of durable and transparent acrylic. It allows you to see your fabric and align it with the template.
Conclusion
Now you know, boxed bags are a great way to store and organize your items. It helps in displaying and exhibiting your products. You can make your boxed bag from scratch or use a ready-made template. Ready-made boxed bag templates are for naïve people. it simplifies and speeds up the process. Either way, you will end up with a beautiful and functional bag that you can use for yourself or give as a gift. Custom Designs Boxes creates boxed bags in shapes and designs of your choice. Design with your logos and other printings with enhanced printing machinery and creative designs that boost your brand image and give wings to your marketing bird.

Abdul Waheed
With over a decade of experience in the printing and packaging industry, I’ve dedicated my career to helping brands reshape their identity with creative, sustainable, and cost-effective packaging solutions. Being the CEO of Custom Designs Boxes, my mission is simple: to balance innovation with affordability so businesses of every scale can enjoy premium packaging truly reflecting their vision. When I’m not strategizing for the next big packaging trend, you’ll find me exploring design inspirations, mentoring my team, and building lasting relationships with clients.